22 June, 2000
Mud Pie Anyone?
Recovery of the JPCS begins when it has been determined that the main
core has successfully detached from the triggering arm and embedded itself
in the sediment. As the corer is hoisted out of the sediment, special
attention has to be paid to the tension on the trawl wire. Once freed from
the sediment, the corer can easily be raised to the surface. As the trigger
arm breaks the surface and has been raised to a suitable position, it can be
removed. With the aid of photographs, I will explain the rest of the
recovery method.
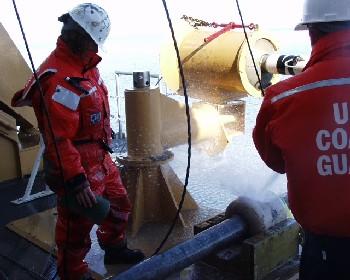
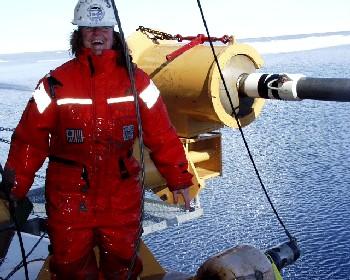
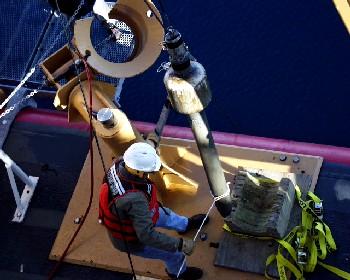
Picture 2 Once the core head has been secured in the Core Handling Davit, the main corer can be carefully hoisted onto the ship. It is important in this process that the core barrels bend as little as possible. Any disruption of the sediment can ruin a sample.

Picture 11
Picture 7 Once some of the core liner has been pushed out of the core barrel, the core cutter is removed. Here the core cutter has already been removed. Chris Moser of Oregon State University is beginning to remove the core catcher.
Picture 8 With the removal of the core catcher, it is now time to remove the first few inches of the core liner. This is an area where there is a lot of deformation of the core sample.
Picture 3
Picture 9
Picture 13 Dr. Lisa "The Mud Lady" Clough of Eastern Carolina University just loves mud! Tomorrow, I will be sharing with you information I received from Dr. Larry Lawver of the University of Texas at Austin about core samples. I will let you know how core samples are used and what types of information can be gained from them.
Pictures 12 Once you get towards the top end of the main corer as indicated in pictures eleven and twelve, you have to carefully cut the core liner to locate and remove the piston. Pictured here, the piston was successfully removed from the core liner. Once removed, the final two sections can be cut and prepared for storage.

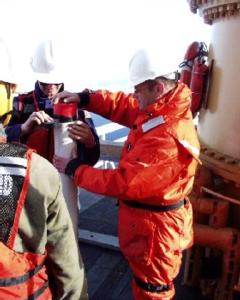
Picture 5 Marine Science Officer LTJG Todd Adrian cheerfully helps with cleaning the core barrel and the deck of the ship.
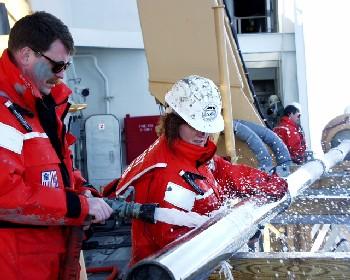
Pictures 4 After recovery, the gravity corer and main corer are given a throughout washing, as shown in pictures three and four.
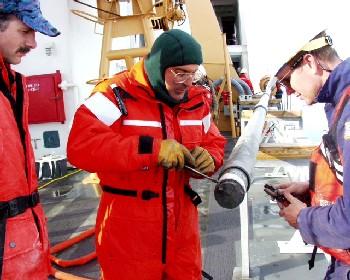
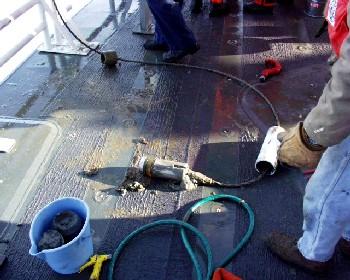
Picture 6 The hydraulic extruder is then attached at the opening of the corehead. The extruder pushes the core liner (PVC pipe) out of the core barrels. The hydraulic tool makes removing the core liner much easier.
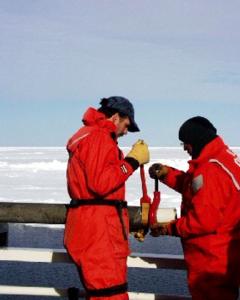
Picture 10 As shown in pictures nine and ten, the end is then capped and "burped" (the air is removed from the cap). The cap is securely fastened with electrical tape so that it does not come off during anytime the samples are moved. The cap is labeled "bottom", for bottom end. A Roman numeral I is also put on the cap, to indicate that it is the first core sample to be cut. An arrow indicating which end of the core sample is up is also placed on the PVC pipe. Once the bottom end is complete, you measure up the pipe five feet; this is where the second cut is made. Using a strap wrench and pipe cutter, the PVC pipe is cut and carefully removed. Once again the end is capped, burped, and taped. To label each section of the core properly, it is labeled with the cruise name or number, the letters PC (for piston core) and the core number for that cruise, and a section number (the core is cut into five foot sections). For example, when we extruded the first core, we labeled it Healy Phase 4 Leg 4 / PC 1 / Section ___. The section number has a blank, because when you are cutting the first piece off, you don't know what section number it is. Why? Section numbers are numbered from the top of the whole core, to the bottom. When you start cutting the core at the bottom, you don't know how many sections above it will contain mud. So section numbers are filled in after all of the core sections have been processed. We had a total of seven sections for the first coring. The seventh section was only about a foot long.
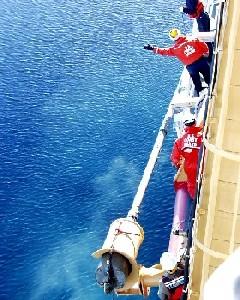
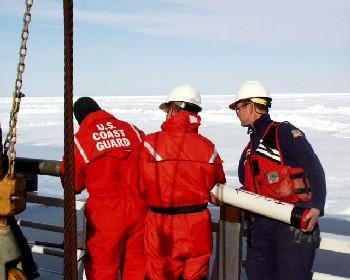
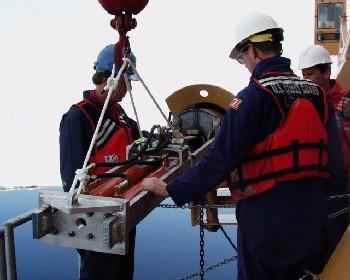
Picture 1 After the trigger arm has been recovered, the gravity corer is then brought up on deck and removed.
Contact the TEA in the field at
.
If you cannot connect through your browser, copy the
TEA's e-mail address in the "To:" line of
your favorite e-mail package.
|