
|
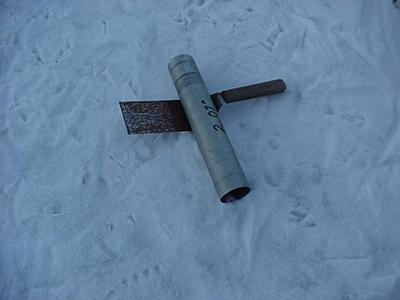
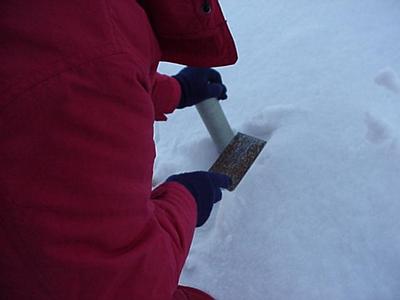
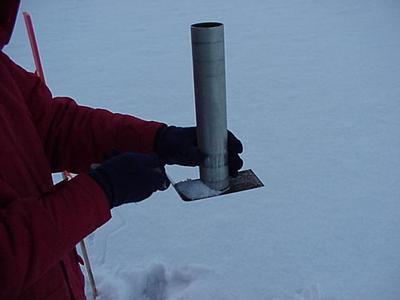
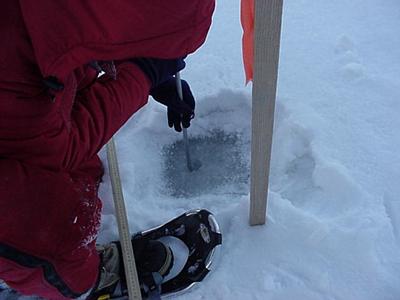
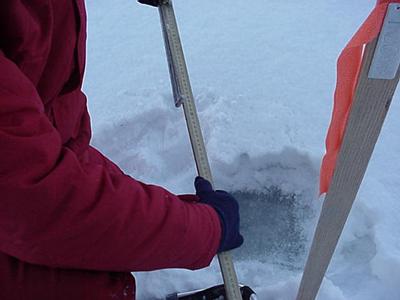
16 November, 1999Meanwhile, Back on Campus... Today I calculated the snow densities from yesterday's samples. I also began the task of helping Martin to organize the data that we have into computer files. We are using "Sigma Plot", but any sets or subsets of these data can be manipulated with "Excel", or even with a TI graphing calculator, depending upon what you want to do! Today I'll remind you of the types of data that we have and how we collected them. Remember, kids...we're using metric units! Also, a transect is typically 100m long! 1. snow surface temperature (taken at both ends of the transect): Obviously colder than the temperatures below the snow surface because it's exposed to the air. A typical value for Monday was -12C. The mean snow surface temperatures will be important when we calculate heat fluxes! 2. snow depth (taken at every meter along the transect): If you have ever heard of a "blanket" of snow, then you will know that the snow serves as a good insulator, and will reduce heat transfer. Our handy-dandy temperature probe also serves as a measuring device, but you could just use a meter stick. A typical snow depth from Monday was 10cm. (We will not use meters because the equations that we will be using to calculate flux require that we use centimeters.) 3. snow/ice interface temperature (taken at every meter along the transect): Keep in mind that lake water freezes at 0C and that the surface of the ice is "blanketed" with snow. It shouldn't surprise you, then, that these temperatures will be warmer (i.e. closer to 0C) than were the temperatures on the snow surface! A typical value from Monday was -4C. 4. snow density (taken at every 10 meter interval): Skiing fans like the fluffy stuff, and snow-fort fans like the wet stuff! Basically, everyone who knows snow knows something about snow density! Snow that is less dense has more air between the snow crystals, and will be a better insulator. Snow that is more dense will not insulate as well. Another way of picturing this is to compare a wet ski coat (with fewer air pockets) to a dry & fluffy ski coat (with lots of air pockets). Which will keep you warmer? In order to calculate density you will need to collect a known volume of snow. You should place it into a leak-proof container so that the mass in grams can be determined back in the lab (see photo). Remember, density = mass/volume (units are g/cc). You can see from the photos below that we collected the snow in a cylinder. Since we know the radius of the cylinder and the "height" of the snow, our volume would be: (pi)x(radius squared)x(snow depth) Remember to use cm! 5. ice thickness (taken at every 10 meter interval): The thickness of the ice is crucial for our calculation of heat flux. This step will require the most work, but will keep you warm! You will need some sort of drill or ice auger, and a rod shaped like a tall "L". The rod can be lowered into the drill hole until the bottom of the L catches the lower ice surface. By pinching your fingers on the part of the rod that is at the upper ice surface, you'll be able to determine the ice thickness. (see photo) A typical ice thickness from Monday's field work was 29 cm. This was about 5cm thicker than it was two weeks ago!
Contact the TEA in the field at . If you cannot connect through your browser, copy the TEA's e-mail address in the "To:" line of your favorite e-mail package. |